
Essential Tips for Installing Jib Cranes Safely and Efficiently
Installing a jib crane isn’t just about bolting steel to concrete—it’s about creating a safer, more productive workspace. Whether you’re outfitting a new facility or upgrading your current setup, a smooth jib crane installation can make all the difference. This guide will walk you through the key steps, safety checks, and expert tips to ensure your crane is installed correctly and ready to perform.
Why Proper Jib Crane Installation Matters
A well-installed jib crane enhances workflow, reduces manual handling risks, and minimizes downtime. Improper installation, on the other hand, can lead to costly repairs, safety hazards, and regulatory headaches. By following best practices, you’ll not only extend the life of your equipment but also protect your team and investment.
Step-by-Step Guide to Jib Crane Installation
1. Site Preparation
Before anything else, assess your installation site:
-
Foundation Check: Ensure the floor or wall can support the crane’s weight and the loads it will lift.
-
Clearance: Verify that there’s enough space for the crane’s rotation and movement, free from obstructions.
-
Level Surface: A level base is crucial for stability and performance.
2. Foundation and Mounting
For floor-mounted cranes:
-
Concrete Thickness: A minimum of 6 inches of reinforced concrete is typically required.
-
Anchor Bolts: Use chemical anchors or expansion bolts as specified by the manufacturer.
For wall-mounted cranes:
-
Structural Integrity: Ensure the wall can handle the load and stress.
-
Mounting Brackets: Securely attach brackets using appropriate hardware.
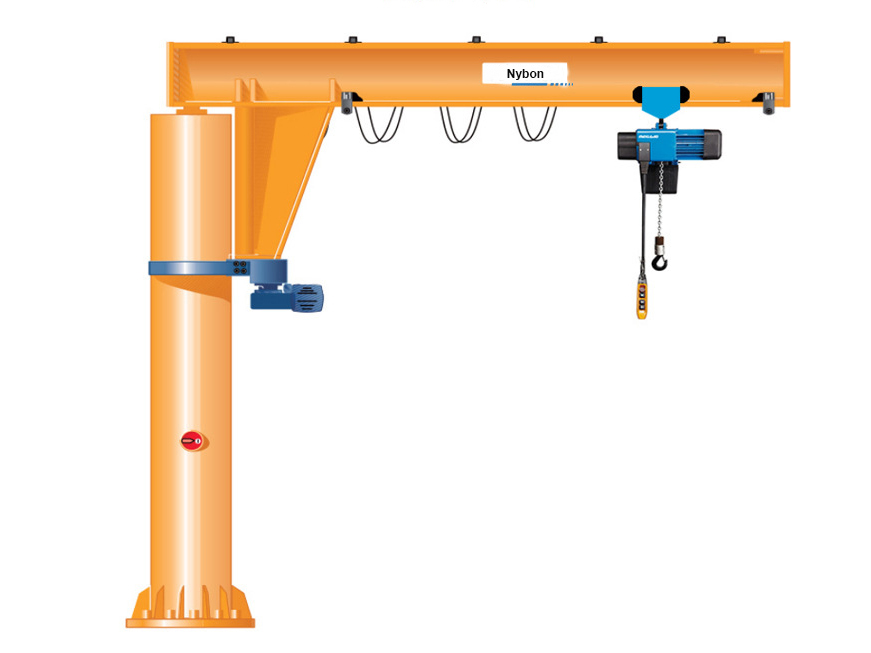
3. Assembling the Crane
-
Mast and Boom: Attach the horizontal boom to the vertical mast or wall bracket, ensuring alignment and secure fastening.
-
Rotation Mechanism: Install and test the rotation system, whether manual or motorized, for smooth operation.
4. Hoist and Trolley Installation
-
Attachment: Mount the hoist and trolley onto the boom, ensuring they move freely without obstruction.
-
Electrical Connections: Connect wiring per the manufacturer’s guidelines, ensuring compliance with local electrical codes.
5. Testing and Commissioning
-
Load Testing: Conduct tests using weights up to the crane’s rated capacity to verify performance.
-
Safety Checks: Inspect all bolts, connections, and safety features like limit switches and emergency stops.
-
Documentation: Record all test results and inspections for future reference and compliance.
Jib Crane Specifications Table
| Parameter | Range |
|---|---|
| Capacity | 0.25 to 10 tons |
| Boom Length | 10 to 40 feet |
| Rotation | 180° to 360° |
| Boom Height | Up to 40 feet |
| Foundation Depth | Minimum 6 inches of reinforced concrete |
Safety Tips for Jib Crane Installation
-
Training: Ensure all personnel involved are trained and understand the installation process.
-
Personal Protective Equipment (PPE): Use appropriate PPE, including helmets, gloves, and safety boots.
-
Area Clearance: Keep the installation area clear of unnecessary personnel and obstacles.
-
Weather Conditions: Avoid installation during adverse weather conditions that could affect safety.
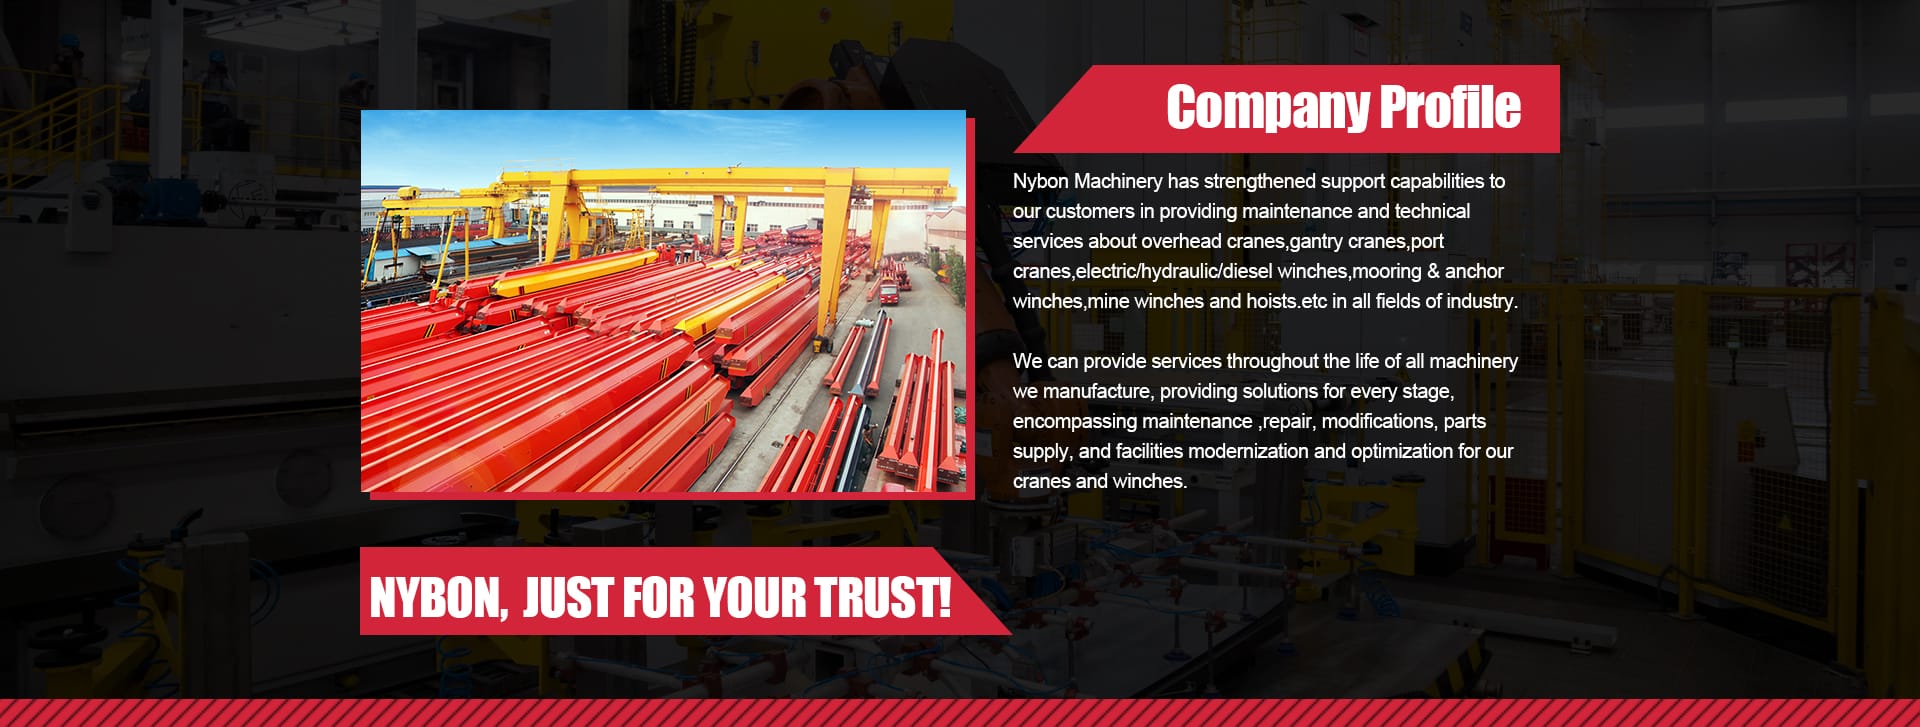
NYBON Machinery: Your Trusted Partner
At NYBON Machinery, we specialize in manufacturing industrial lifting equipment, including bridge cranes, gantry cranes, jib cranes, and electric hoists. Our commitment to quality and safety ensures that our products meet the highest standards, making your jib crane installation process seamless and reliable.
A successful jib crane installation is a blend of careful planning, precise execution, and adherence to safety protocols. By following the steps outlined above, you can ensure a safe and efficient setup that will serve your operations for years to come.
Get A Quote Today
Welcome to send a free inquiry to —info@nybonmachinery.com
